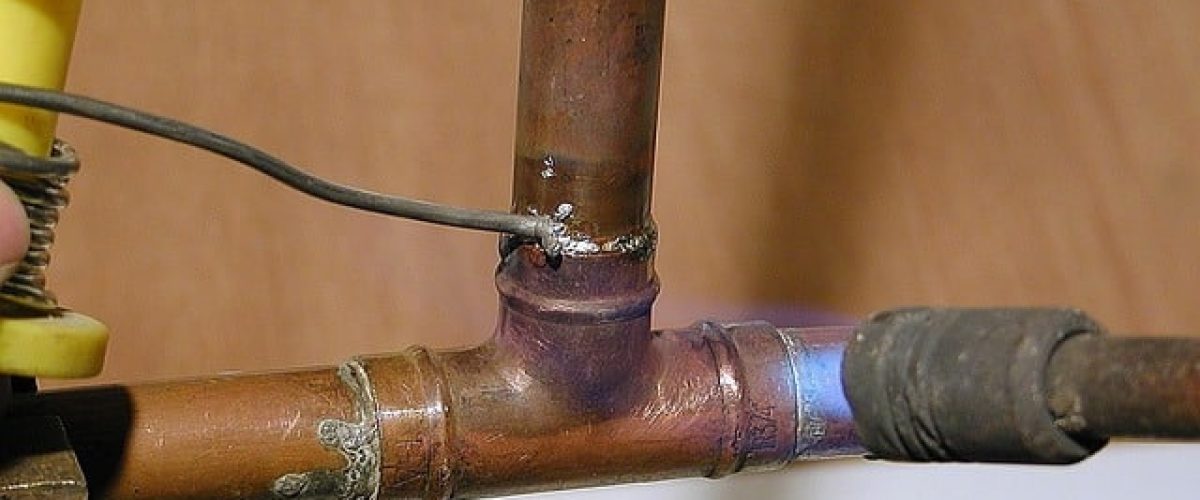
When carried out under the right conditions, flame welding guarantees clean, strong and durable welds. Here’s how to use your gas torch properly for your personal or professional projects.
1. Prepare a clean, well-ventilated workspace
Your workspace needs to be perfectly clean so that no impurities get trapped in the molten metal. Outside, take the environment into account. When it’s windy, make sure you have a shelter so you’re not exposed to wind-blown debris.
The two parts to be welded must also be perfectly clean, free of all traces of corrosion and degreased. Use a professional paint stripper for this. Sanding with sandpaper not only cleans your parts thoroughly, but also creates microgrooves in the metal. This makes it easier to weld by capillary action, for a stronger hold.
If your parts are not spotless, you run the risk of weld defects in the form of bubbles or inclusions. If this happens, your weld will look unsightly and its strength will be called into question.
2. Adjusting the gas torch flame
To avoid weld defects, the gas torch flame must be precisely adjusted to provide uniform, controlled heat that is suited to the metal you are working on. You need to adjust the following parameters
- adjust the gas pressure ;
- adjusting the gas flow rates to obtain the optimum mixture;
- adjust the flame: the knobs on the gas torch allow you to adjust the length and shape of the flame.
The false flame should be bluish in colour, while the flame sting should be a bright hue. Test your flame and make adjustments for optimum flame welding.
To adjust your flame precisely, you need to fit your gas torch with the right nozzle. Depending on the model you own, consult your manufacturer’s catalogue to make sure you use a compatible and suitable nozzle.
3. Select the best filler metal
You need a filler metal for brazing, unlike flame welding, which creates a strong, homogeneous bond between two parts. The melting point of this filler metal must be lower than that of the other two parts you are about to join. As these parts may be of different types, you should take into account the one with the lowest melting point.
Soft soldering
Soft solder creates clean joints, but with limited strength. It is not suitable if your finished part is going to be subjected to excessive mechanical stress. The filler metal for soft soldering – which requires a temperature of between 180°C and 400°C – can be zinc, lead or tin.
Hard soldering
Hard soldering guarantees excellent mechanical resistance. It is performed at a temperature of between 600°C and 900°C. Aluminium, silver or copper is used as the filler metal.
4. Proceed with flame welding
When everything is ready, heat the two parts to be welded, as well as the filler metal in the case of brazing. Don’t leave your flame fixed on one point, but make it move by creating a movement along the weld being formed. Assemble everything when you have reached the melting temperature.
5. Finishing
Leave your flame welding to cool without intervening. All that remains is to file and sand your assembly.
Produits associés
-
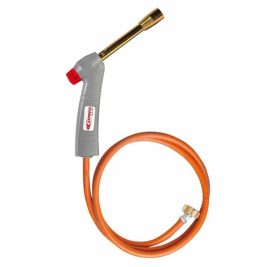 25,70€ HT
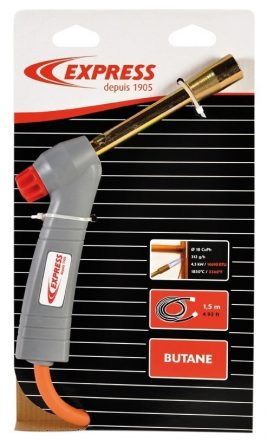
Palnik standardowy nr kat. 5100
Standardowy palnik do instalacji sanitarnych i grzewczych nr kat. 5100 - bardzo...
Produits associés à cet article disponible sur express.fr
-
61,11€ HT
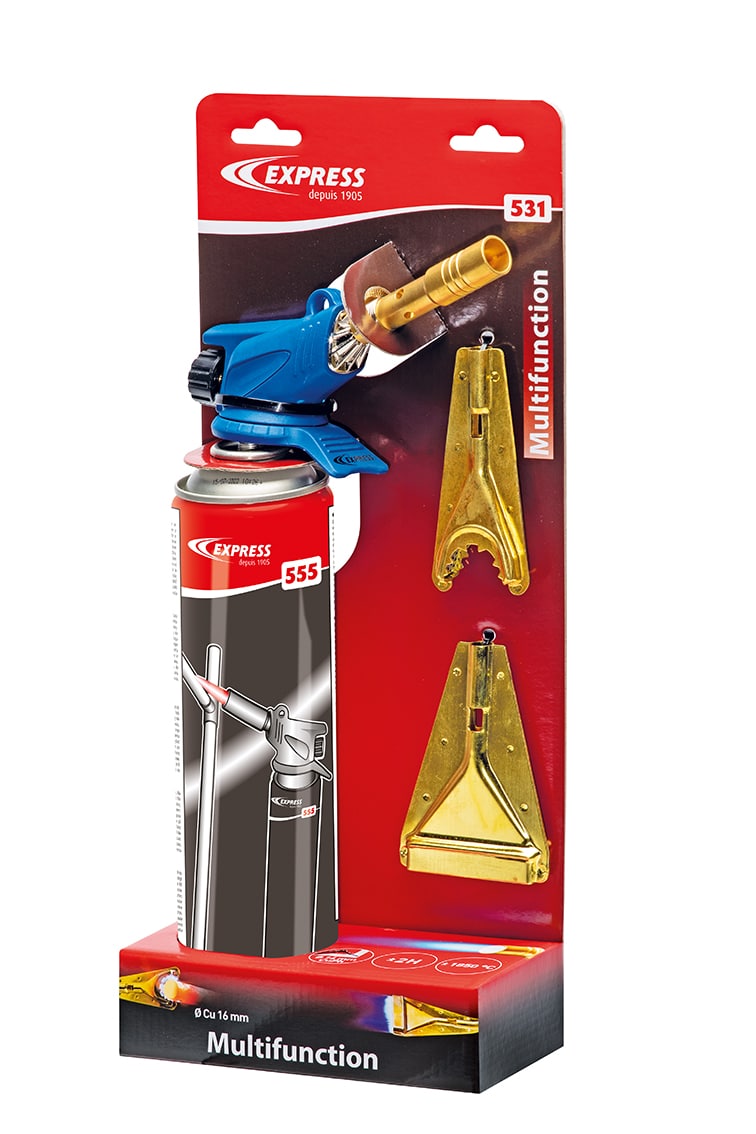
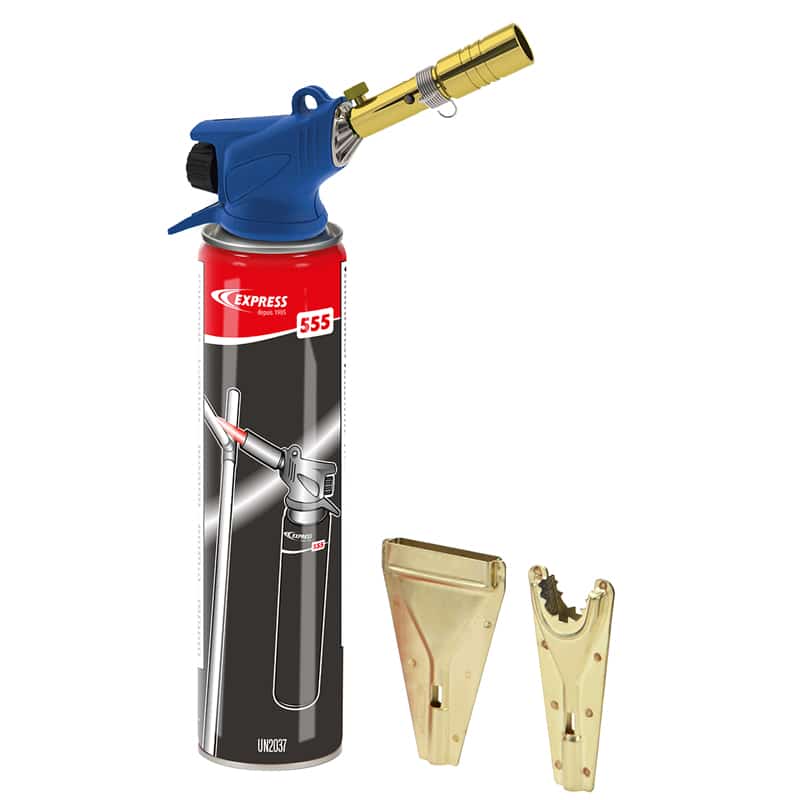
Lampa lutownicza Lamp’ Express Wielofunkcyjna 531
Lampa lutownicza płomień obejmujący Cercoflam, lanca płomień skupiony i lanca... -
41,02€ HT
Lampa lutownicza z zasobnikiem gazu nr kat. 343
Lampa lutownicza z zapalnikiem piezo do bieżących napraw -
-
243,21€ HT
Zestaw do instalacji sanitarnych 6073
Zestaw do instalacji sanitarnych złożony z palnika z króćcem obrotowym i lancy...
