For all your welding work, your roofer’s soldering iron must meet the unnegotiable criteria of quality and practicality. Here is a list of qualities it must have in order to allow you to work in the best conditions.
Propane gas
The roofer’s soldering iron is connected to a gas cylinder. For jobs where you need even more manoeuvrability, there are portable roofing irons that use a small bottle of gas giving you a use time of 45 to 70 minutes.
The tip

Long-lasting treated purlin for roofer’s soldering irons
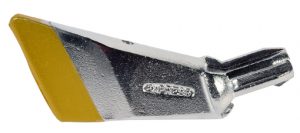
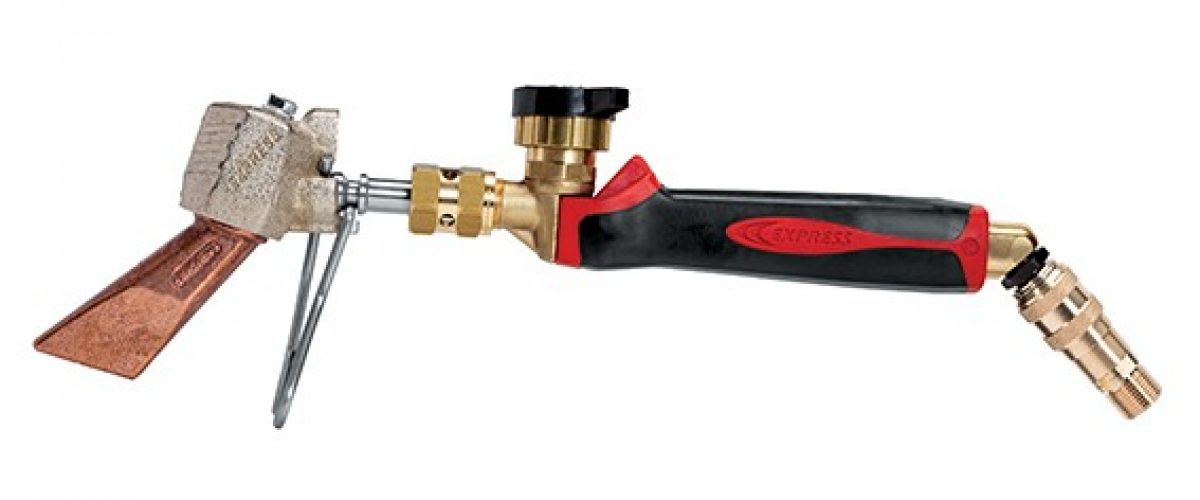
The heating element mounted on a metal tube is called the tip. The size of the tip must be chosen according to your application. The smaller the tip, the more it will be used for precise and detailed soldering.
Most soldering iron tips are interchangeable, so you can seamlessly go from one task to another. For a roofing soldering iron, you should choose tips made from 99.9% pure grade copper, sometimes coated with chromium, iron or nickel.
The tip can be different shapes and sizes: single, double, bevelled, flat, pointed, curved, or offset. For greater manoeuvrability, the tip can be rotated 360°, with a tilting angle of /- 5°.
Your tip must always be perfectly clean. At each stage of your weld, you must clean it with an ammoniacal stone. It is also recommended that you file and/or beat them, except for “Long life” tips which should never be filed or beaten.
The temperature
The heating temperature is decisive for being able to work under all circumstances. It must be adjustable. Your roofing soldering iron must therefore be equipped with a temperature variation switch to control the intensity of the temperature. Your filler metal must be heated to within 250°. If it is too hot, it will be too fluid and may alter the zinc, if it is too cold, it will be too stiff. Depending on whether you work indoors or outdoors, you must be able to modulate the temperature of your iron.
For a roofing soldering iron, the temperature must rise to 600°C to be able to work with zinc, copper, stainless steel, pre-finished zinc or lead. The burner is made of casted steel with anti-corrosion treatment and the brass fittings ensure the solidity of the iron.
The power
The power of a soldering iron determines its efficiency. For a roofing soldering iron, you should opt for a minimum power of 2 kW. You must take into account the type of component you are going to process as well as your working environment. Indeed, in summer or winter, your roofing iron will require a different setting to work at its best. In addition, the more heat-loss potential in the environment, the more power you will need.
The weight
Your roofing soldering iron must first give you an excellent grip, with an ergonomic handle and also be covered with non-slip material. The iron should be as light as possible, so that you can work for a long time without any discomfort.
The sleeve should have a swivel connection so that your hose does not roll up on itself, blocking the gas supply and, more seriously, pierce itself, allowing the gas to escape.
The ignition
The Piezo ignition allows the easy lighting of your soldering iron. Once switched on, it works in any position with a 360° swivel. Check the conditions of use if you are working outdoors, the iron must withstand wide variations in temperature. Never plunge it into cold water to cool it down, you risk damaging specifically the grill but also the iron in general. (very important editor’s note)
For practicality, the soldering iron can be supplied with a case, allowing you to store your equipment: spare breakdowns, spare piezo (no accent), ammonia stone, paint remover, brush, gloves, etc.
